The Phoropter interface is the product of many years research and development and the feedback from numerous users. It aims to provide the clinician with an extremely efficient set of tools for carrying out a refraction and vision assessment.
There will inevitably be a bit of a learning curve when using the interface for the first time but a great deal of effort has gone into trying to make some quite complex features, simple and intuitive to use.
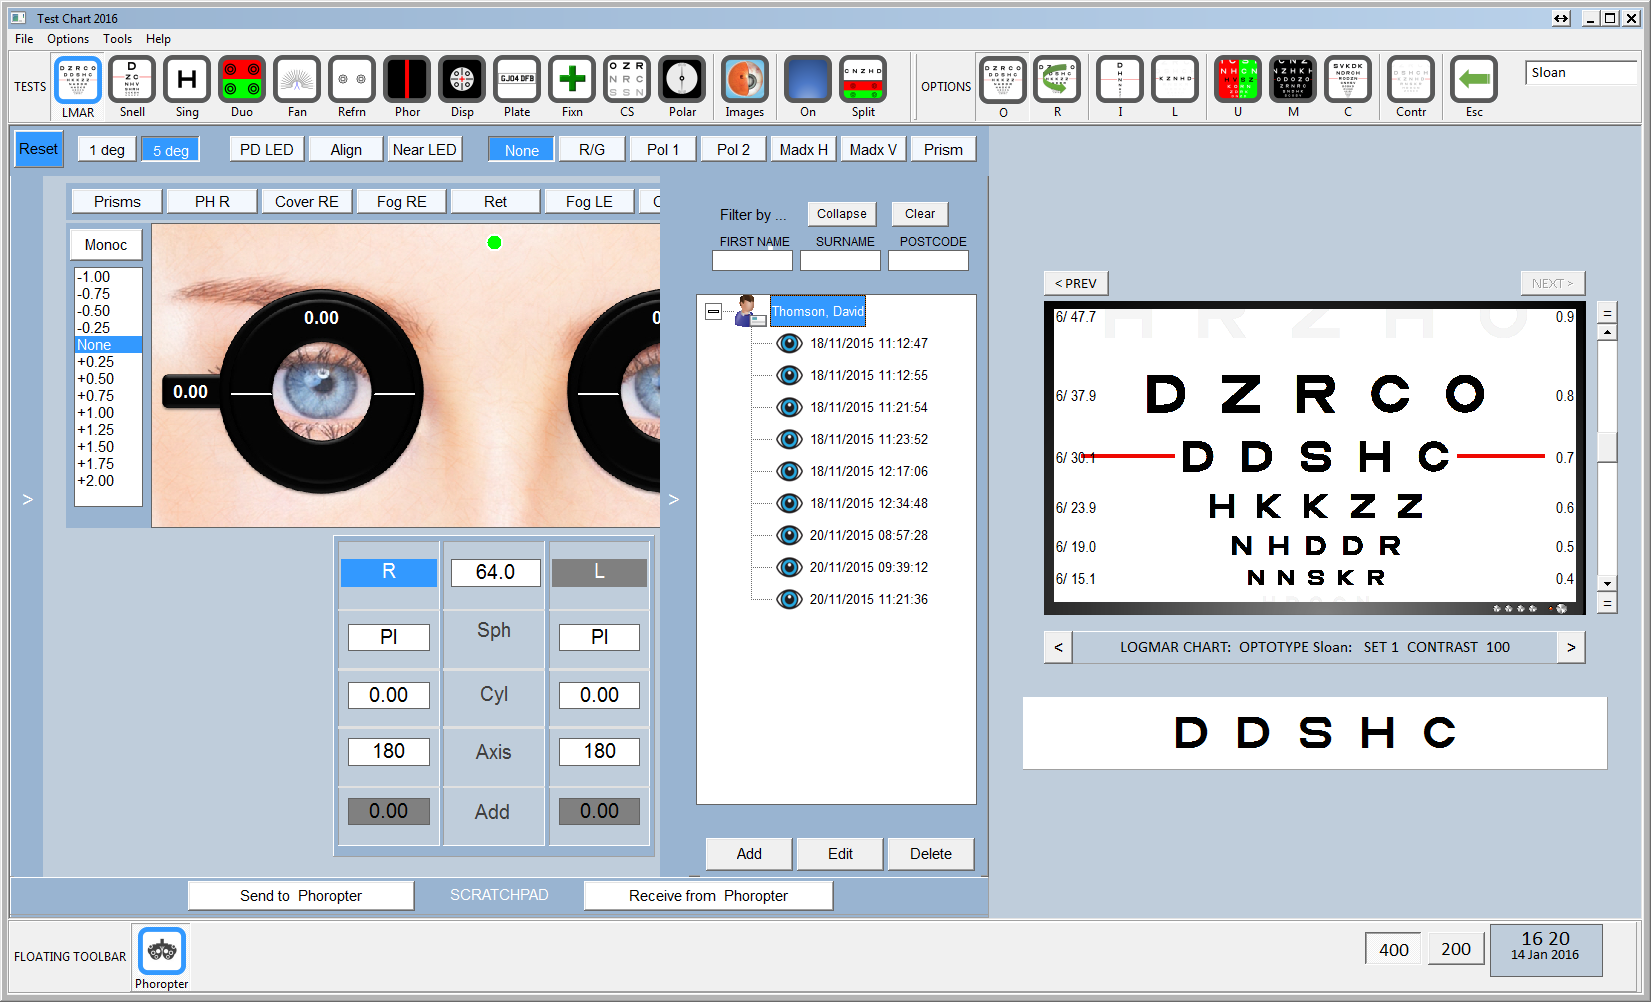
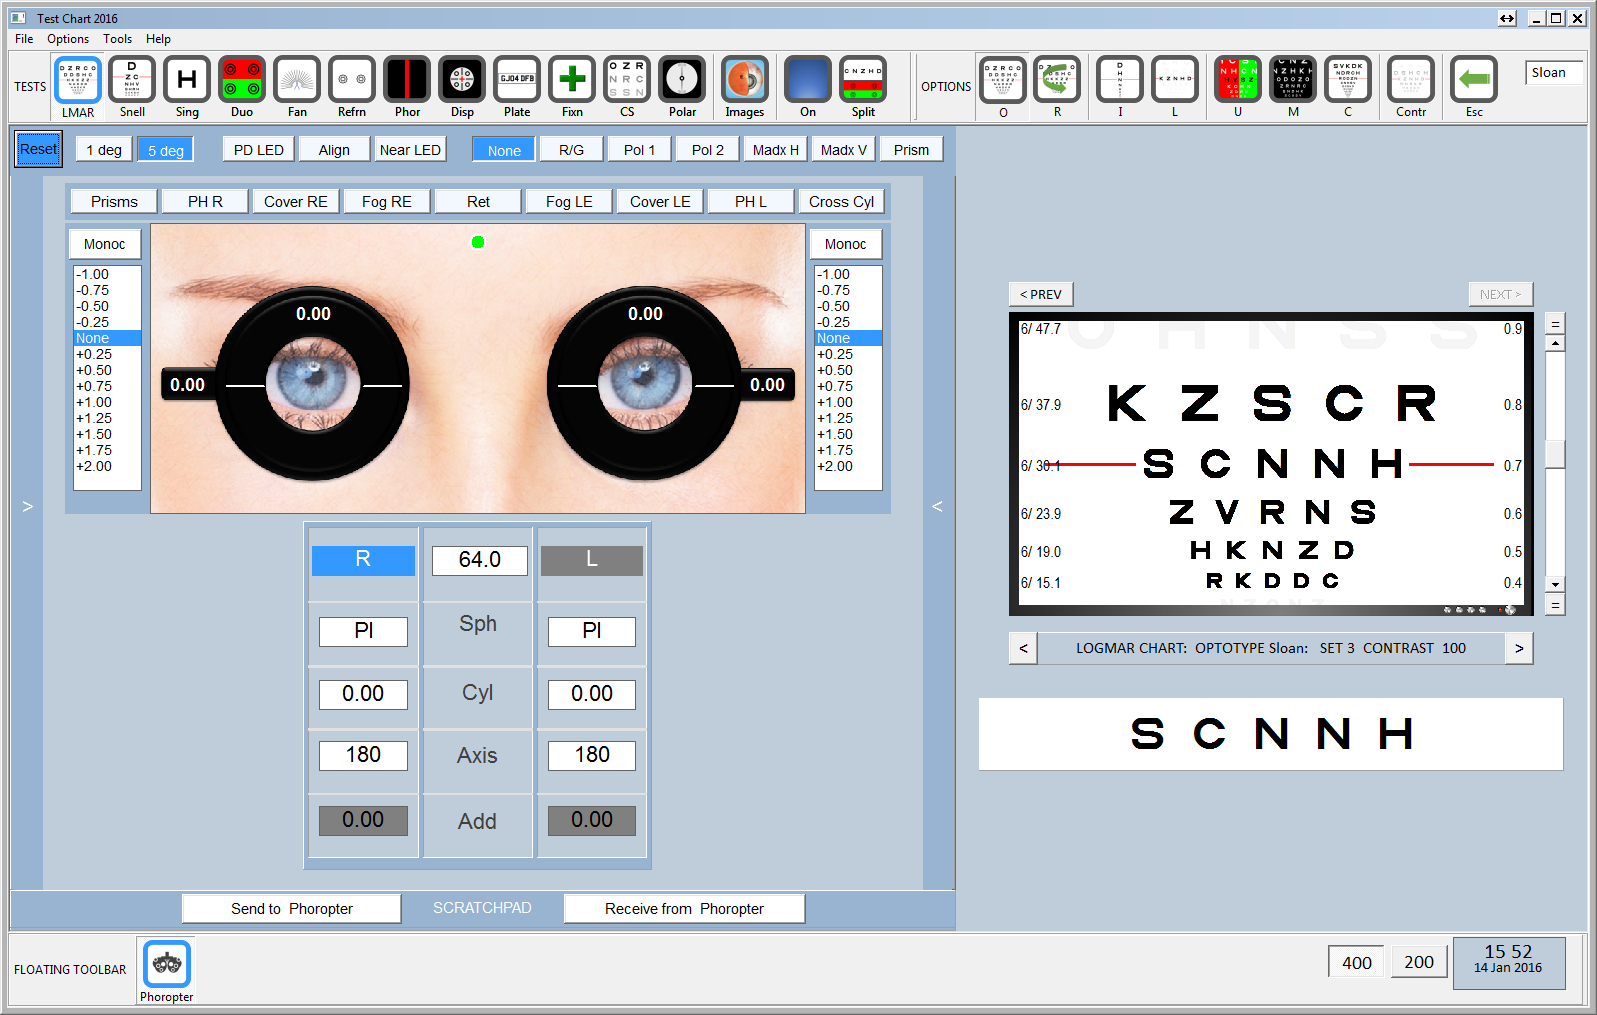
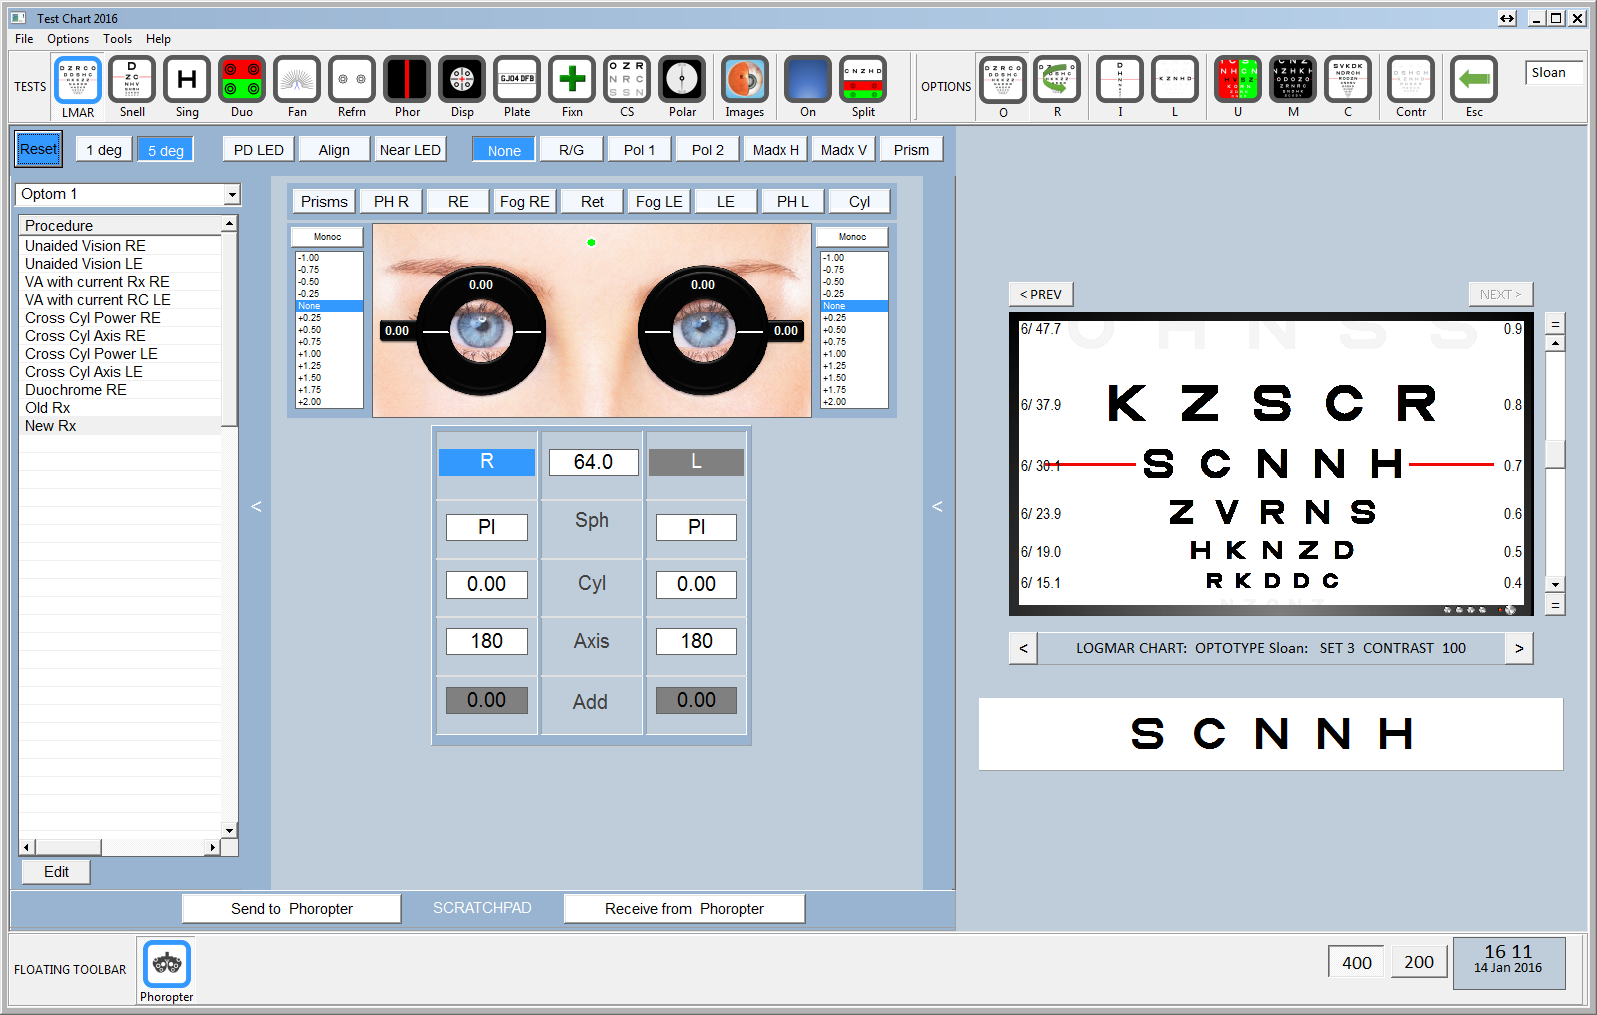
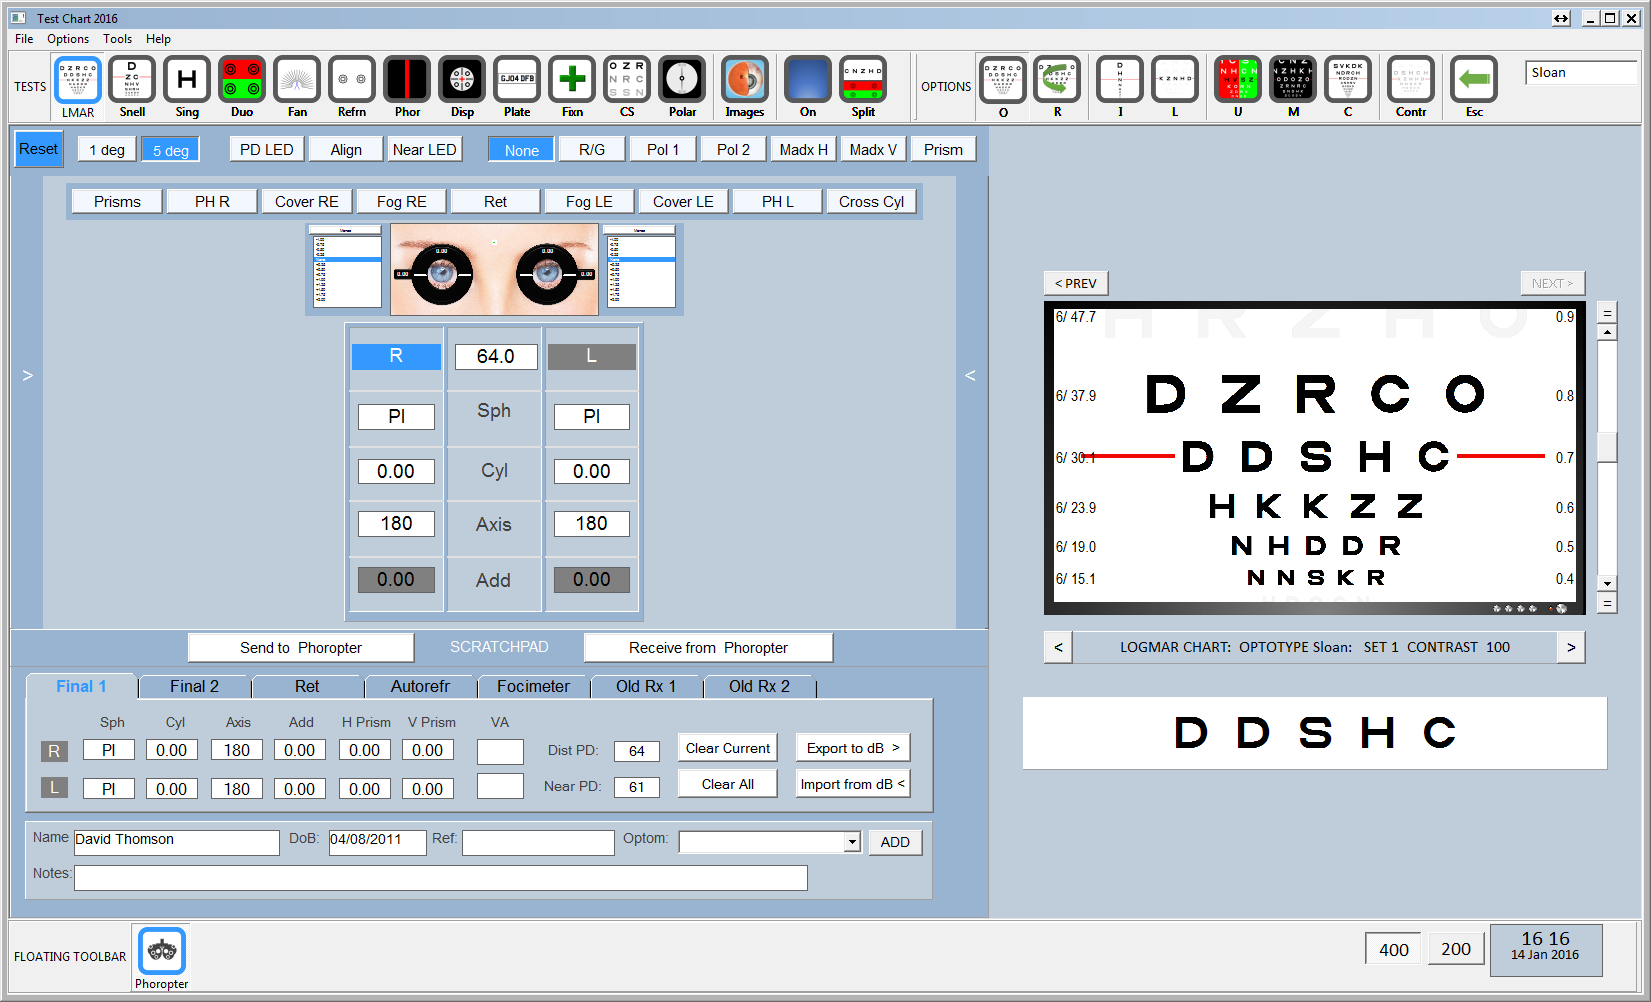
The basic interface is shown below:
The interface is fully scalable so the Floating Control Window may be resized as required.
The interface includes a visualisation which allows the clinician to see at a glance which lenses are currently selected. The common lenses and functions are permanently displayed and various additional panels and buttons are added when in specific test modes.
Three additional panels may be displayed by clicking on the bars to the left, right and at the bottom of the phoropter interface.
Clicking on the left panel, displays the Shortcuts list. This is a very powerful feature which allows a sequence of lens and chart configurations to be defined. The practitioner can then insert the appropriate series of lenses and display a specific test chart configuration with a single click.
Clicking on the bottom panel, displays the Scratch-pad panel. This allows up to seven versions of a patient's prescription to be transferred to and from the phoropter providing a prescription scratch pad for the practitioner. The scratch-pad can also import and export prescriptions to a Patient Management System or the internal database.
Clicking on the Right panel, displays the Database panel. This displays a list of prescriptions held in the internal database. This provides rapid access to a patient's prescription history and allows prescriptions to be rapidly inserted into the phoropter.