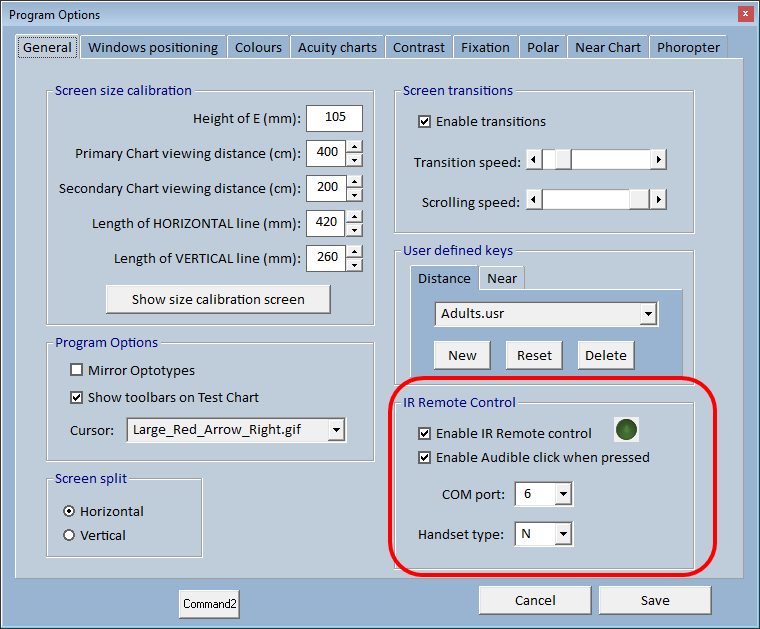
The General tab of the Program Options window includes the following panels

Test Chart 2016 may be used on monitors of any size viewed from any distance. In practice, we recommend a minimum monitor size of 17'' (except for laptops) and a minimum viewing distance of 3 metres.
The software will generate charts and stimuli to within 1 pixel accuracy for the given viewing distance. However, the sizing of the optotypes and stimuli will only be correct if the system is accurately calibrated.
The calibration screen will be shown automatically when the program is run for the first time. Thereafter it can be displayed by clicking on the Show Size Calibration button on the General tab of the Program Options window.
This will display the screen /shown below on your primary monitor:

Measure the height of the letter E (in MILLIMETRES) and enter the result in the first box in the Screen Size calibration panel. This is used to calibrate the size of the test chart letters.
Test Chart 2016 allows two viewing distances to be specified so that the user may rapidly switch to the shorter distance for patients with poor visual acuity. Enter the two viewing distance (in CENTIMETRES) in the second and third boxes.
Measure the width and height of the horizontal and vertical lines (in MILLIMETRES) and enter the results in the remaining two boxes. These measurements are used to calculate the dimensions of some of the stimuli used in the program.
Program Options
Mirror Optotypes
Test Chart 2016 may be viewed directly or via a mirror - using a mirror effectively doubles the viewing distance and is recommended for consulting rooms of less than 3 metres in length.
Optotypes viewed via a mirror will of course be horizontally reversed. To resolve this, Test Chart 2016 is capable of reversing the optotypes so that they are the right way round when viewed in a mirror. This option is activated by ticking the Mirror Optotypes check box.
NOTE: If this option is selected, measurements which are affected by using a mirror (such as Fan and Block and Associated Phoria) will be automatically corrected.
Show toolbars on Test chart
Test Chart 2016 can be controlled using the mouse, keyboard, IR remote control or tablet. If a mouse is being used on a single monitor system (i.e. no Floating Control window), the Primary and Secondary menus can be displayed on the Test Chart screens when the mouse is moved to the top of the screen (as shown below).
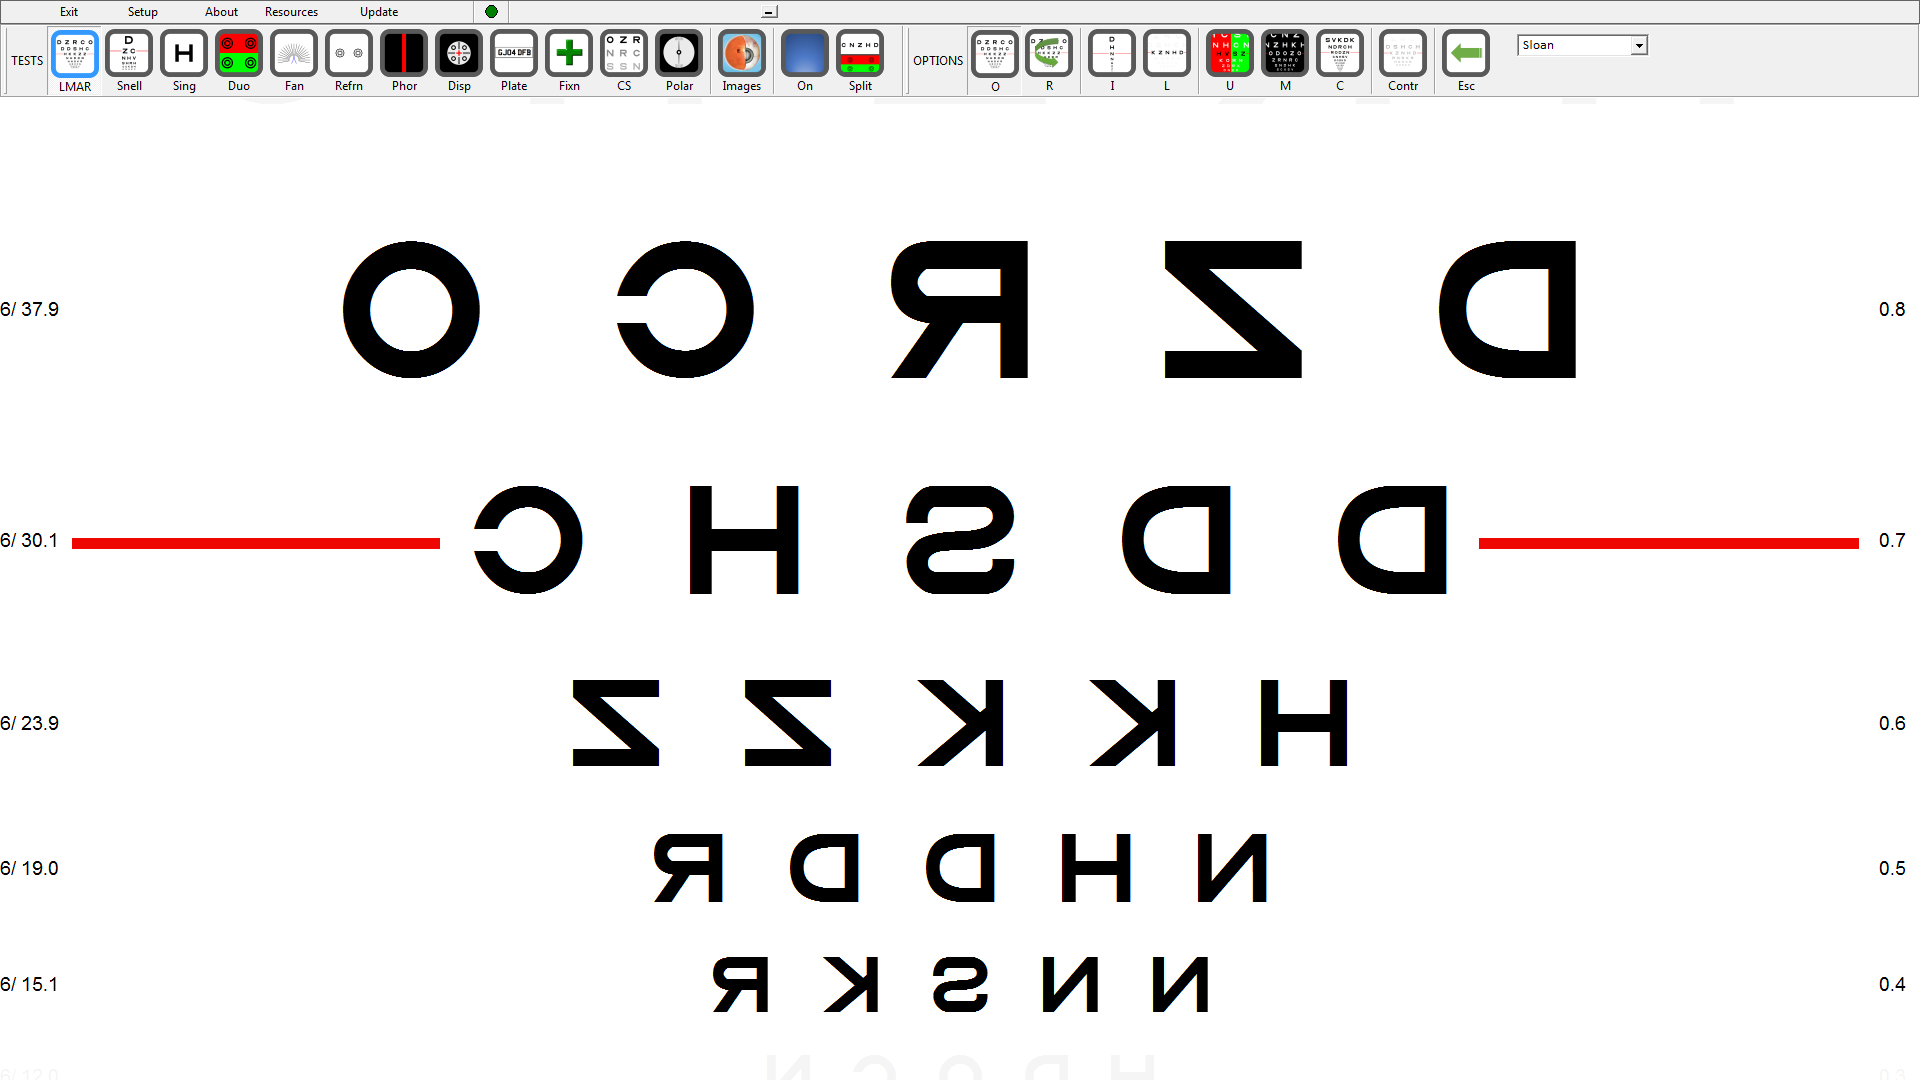
This feature is enabled/disabled using the Show toolbars on Test Chart option. In general, this option should only be selected if using mouse control and a single monitor.
Cursor
When the Floating Control window is used, the clinician may point to any part of the screen by simply moving the mouse pointer over the thumbnail image and pressing the Left mouse key.
The current cursor will be shown on the corresponding part of the Test Chart screen as shown below:

A wide range of cursors are available in Test Chart 2016. To change the cursor, it is selected from the pull-down list.
NOTE: The cursor movement will be automatically reversed if Mirror Optotypes is selected.
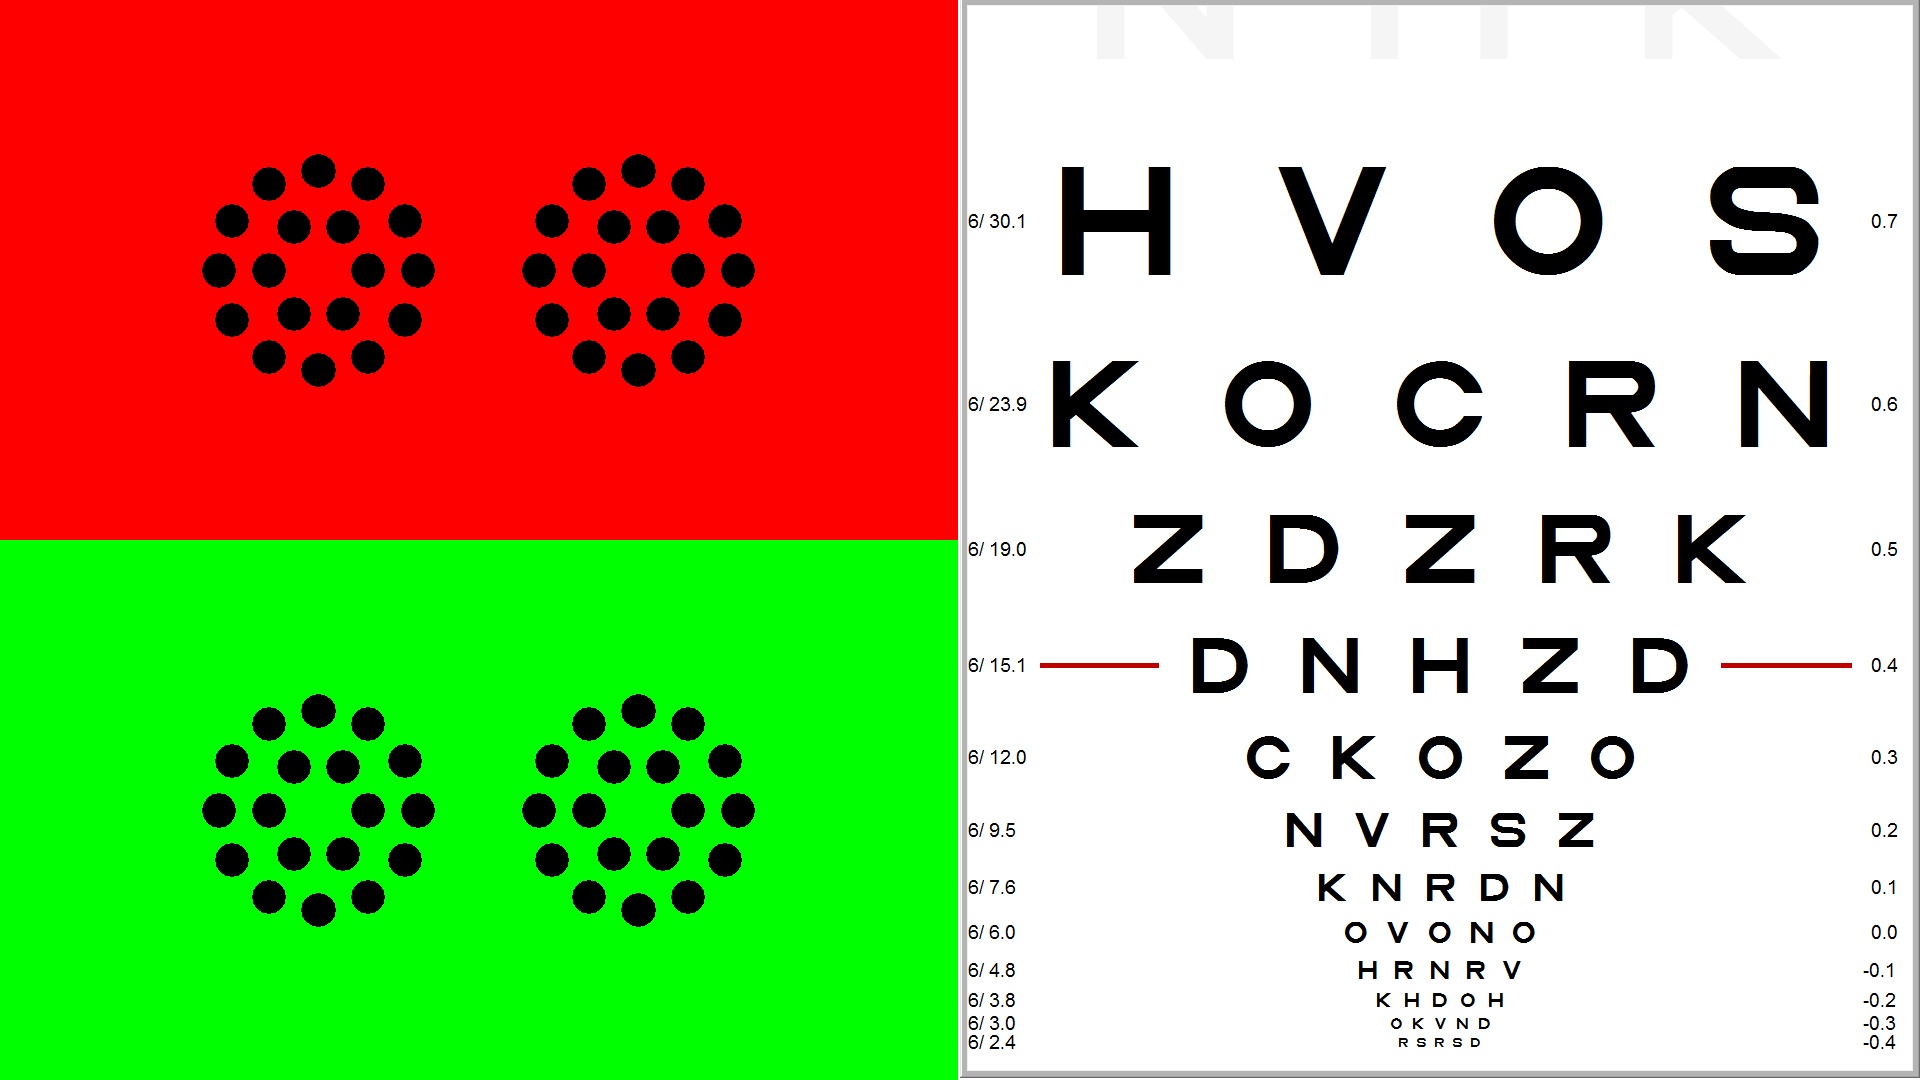
Test Chart 2016 allows two charts to be displayed simultaneously. This is useful during refraction for example, when a duochrome and a cross-cyl target can be displayed at the same time.
Test Chart 2016 allows the screen to be split Horizontally or Vertically (as shown below):

Transitions
Test Chart 2016 introduces the option of faded screen transitions when changing from one mode to another. This provides a smooth transition as the screen fades through black. The speed of this transition may be changed using the slider control or the transition effect can be turned off by un-ticking the Enable transitions check box.
Scrolling
Test Chart 2016 introduces the option of Smooth Scrolling for the letter charts. This causes the chart to move smoothly as the chart is scrolled up and down. The speed of the scrolling can be changed using the Scrolling speed scroll bar.
Test Chart 2016 allows users to define their "favourite" screens and access them with a single key press on the keyboard or remote. Test Chart 2016 allows an unlimited number of User-Defined sets to be created. Full details of how to set up User-defined keys and multiple User-Defined sets is given below. Different User-defined sets may be created for Distance and Near tests.
The USB receiver has been designed to work with the IR handset for Test Chart 2016.
Before using the USB receiver it is necessary to install the appropriate drivers which are contained on the accompanying CD or may be downloaded.